Run LLMs locally on your computer using Open WebUI
Learn to run LLMs locally and build your own ChatGPT with Open WebUI. Save money—or do it completely free—with total control.

While generative AI is accessible to anyone around the world, thanks to open-source models like Meta’s Llama (available on WhatsApp, Instagram, Facebook Messenger, or MetaAI) and free versions of leading commercial solutions such as OpenAI's ChatGPT, Anthropic’s Claude, and Google's Gemini, intensive use may lead you to hit certain limitations.
With ChatGPT’s free version, there’s a message limit, and selecting different AI models can become unavailable once this limit is reached. Similarly, Meta restricts access to its most advanced models after a certain number of messages, redirecting you to less powerful versions. The same applies to Claude and Gemini, although Gemini offers a generous free token allowance through Google AI Studio.
These limitations might push you to consider paid plans, such as ChatGPT’s premium version. After all, OpenAI’s paid solution generally offers the most comprehensive features.
But have you seen the cost? $20 per month! And enabling your entire team can become expensive too, with team licenses at around $25 per user per month.
For some, paying for such an expensive service isn’t feasible. But what if I told you that you could reduce the cost of GPT-4o to as low as $5 per month? Or even better, what if you could run AI models locally on your own computer?
In this article, I'll guide you step-by-step on how to use OpenAI's API to access powerful models like ChatGPT 4o at a reduced cost. I'll also show you how to run open-source LLMs (Large Language Models) locally and completely free, using an interface very similar to ChatGPT—perhaps even with extra features.
You can follow this tutorial to set up your own generative AI environment for personal use, or even make it accessible for your entire team or company.
What are the advantages of having your own generative AI environment?
- Cost control: You have more granular control over how much you pay, especially if you're using commercial APIs like OpenAI's.
- Security and data privacy: Policies for generative AI APIs differ from those of commercial solutions like ChatGPT. While commercial versions might expose your data and potentially use it to train their models, APIs typically offer stronger privacy measures. For example, with OpenAI's API, your prompts and data are not used to train their models (learn more here).
- Control over AI usage within your team or company: You can implement usage restrictions, limit certain features, and ensure AI is used in alignment with company policies.
- Wide variety of models: Access multiple AI models from one place, enabling you to easily compare responses and select the best option for your specific needs.
- A fully self-managed solution: You can deploy this environment on your own server, open ports for internet access, or set it up within your LAN. This way, your company or team has its own AI system aligned with your business policies and can be assured that sensitive company and client data won't be used to train external AI models.
How is this tutorial structured?
This tutorial is divided into three parts:
- Part 1 is essential and required to successfully use the OpenAI API and run local models.
- Part 2 focuses on consuming the OpenAI API and setting up the OpenAI Platform.
- Part 3 explains how to use Ollama to run LLM models locally on your own computer.
You can skip part 2 or 3 depending on your specific needs, or follow the entire tutorial to end up with both features ready, maximizing your possibilities with generative AI.
Requirements to follow this tutorial
Please keep in mind that this tutorial requires installing several applications on your computer and running commands in the terminal. But don't worry! Everything we're going to do is safe, won’t harm your device, and can be easily uninstalled later.
General requirements:
- Download and install Docker (I'll explain what it is and how it works later). You can download it here.
- Install an application called Open WebUI using Docker (I'll explain what this is, how it works, and how to install it later).
Requirements to use the OpenAI API:
- A credit card with at least $5 available. Why $5? Because this is the minimum OpenAI requires to start using their API.
- An account created on the OpenAI Platform.
- A personal computer with sufficient storage space (at least 10 GB), at least 8 GB of RAM (it can be less, but you might run short), and a stable, constant internet connection, since we’ll be connected to OpenAI.
Requerimientos para correr modelos de inteligencia artificial localmente:
Since AI models will run using your computer’s resources, you'll need a slightly more powerful machine in this case. If your computer doesn't meet these requirements, you can stick to just using OpenAI's API. Here are the recommended requirements your computer should meet:
- Storage: At least 50 GB of storage (since you'll be downloading the models). We won’t use all of it in this tutorial, but you’ll need this capacity if you plan to test multiple models.
- Processor: At least Intel 11th generation, AMD Zen4, or an Apple Mac with an M1 chip.
- RAM: At least 16 GB of DDR4 RAM (you can use less, but performance might be affected).
- Graphics card (GPU): While not mandatory, having a GPU can significantly enhance your experience, allowing you to run larger models with billions of parameters more efficiently. You can see official GPU requirements here.
Part 1: Setting up tools to use OpenAI’s API and run models locally
In this first part, I'll explain what Docker is and introduce you to Open WebUI. Both applications need to be installed on your computer.
What is Docker?
Docker is a platform for app developers that allows you to create, deploy, and run containers. Containers are a type of packaging that includes everything an application needs to run.
On Windows or Mac, Docker runs a Linux virtual machine where these containers operate. Containers include all the essential elements required for an application to function.
Containers are generated from an image, previously built with all the necessary components to run the application. These images are downloaded and executed to create containers.
Docker can be controlled using your operating system’s terminal or through a desktop app called Docker Desktop, included in the installation package. We'll use Docker Desktop in this tutorial.
Why do we need Docker?
The application we need to run, called Open WebUI, emulates a ChatGPT-like environment or interface. It's an open-source solution distributed by its creators through Docker, making it easy to deploy (use) either locally or on servers. In either case, the tool is accessible through a web browser like Chrome, Firefox, Edge, or any other.
Although having an interface like this isn’t mandatory to use OpenAI’s API or run models locally, it greatly simplifies interaction and allows any user (you or someone from your team) to easily engage with the AI models.
Installing Docker
Go to this link and download the latest version of Docker Desktop for your operating system.
Once downloaded, run the installer and follow the step-by-step instructions. Don't disable any default options, and complete the installation. You'll be asked to restart your computer—remember to reopen this tutorial after the reboot.
Downloading the Open WebUI image
Open Docker Desktop and make sure you are on the “Containers” tab in the left sidebar. Once there, you'll see a “terminal” button in the lower-right corner. Click it, and Docker will ask if you'd like to enable the terminal—click “Enable terminal.”
Once you're in the terminal, copy and paste the following command:
If you have a computer without a dedicated graphics card (like a laptop) or if you're a Mac user:
docker run -d -p 3000:8080 --add-host=host.docker.internal:host-gateway -v open-webui:/app/backend/data --name open-webui --restart always ghcr.io/open-webui/open-webui:mainIf you have an Nvidia graphics card on your computer and plan to run models locally:
docker run -d -p 3000:8080 --gpus all --add-host=host.docker.internal:host-gateway -v open-webui:/app/backend/data --name open-webui --restart always ghcr.io/open-webui/open-webui:cudaYou can check here for more Open WebUI installation commands tailored to your needs.
This is the only command (code) you'll need to run in the terminal, so if you're feeling lost or it's your first time doing this, follow along with this GIF:
Let the command finish running until you see the following result:
Status: Downloaded newer image for ghcr.io/open-webui/open-webui:mainIf everything went correctly in the previous step, you should see a running container named "open-webui" in the Containers tab. To the right, under the "Ports" column, you'll see that the app is running on port 3000:8080. This means the application is now accessible at:
http://localhost:3000/You can open this web address in your preferred browser, like Google Chrome. "localhost" means it's running locally on your machine, and ":3000" indicates the port number.
When opening this address for the first time, you'll see a login screen where you'll need to create your user account. The first user created will become the application's super administrator, so keep this in mind when creating your credentials.
Now that you've created your super admin user, go ahead and sign in. Voilà! You now have your own generative AI environment to run LLM models.
However, there's not much you can do here yet—you haven't configured your OpenAI API or installed any local LLM models. Now it’s time to move to part 2 or part 3 of this tutorial, depending on the functionality you'd like to enable.
Part 2: Using the OpenAI API with Open WebUI
In this second part, you'll learn how to connect to OpenAI services to access their models through your Open WebUI interface. With this, you'll get almost all the functionalities of ChatGPT, at a better price and with greater control.
What is an API?
Before continuing, it’s important to clarify what an API is. The term API stands for "Application Programming Interface." Essentially, we'll obtain an API key from OpenAI. This key is used with a specific web address (an API endpoint), which has a set of rules and definitions allowing different applications or services to communicate. In our case, we're connecting OpenAI services directly to our Open WebUI interface.
How to set up your account on the OpenAI Platform?
First, go to OpenAI Platform. In the upper-right corner, you'll find the option to sign up. Create an account with your details, and once logged in, navigate to Settings, and then select Billing.
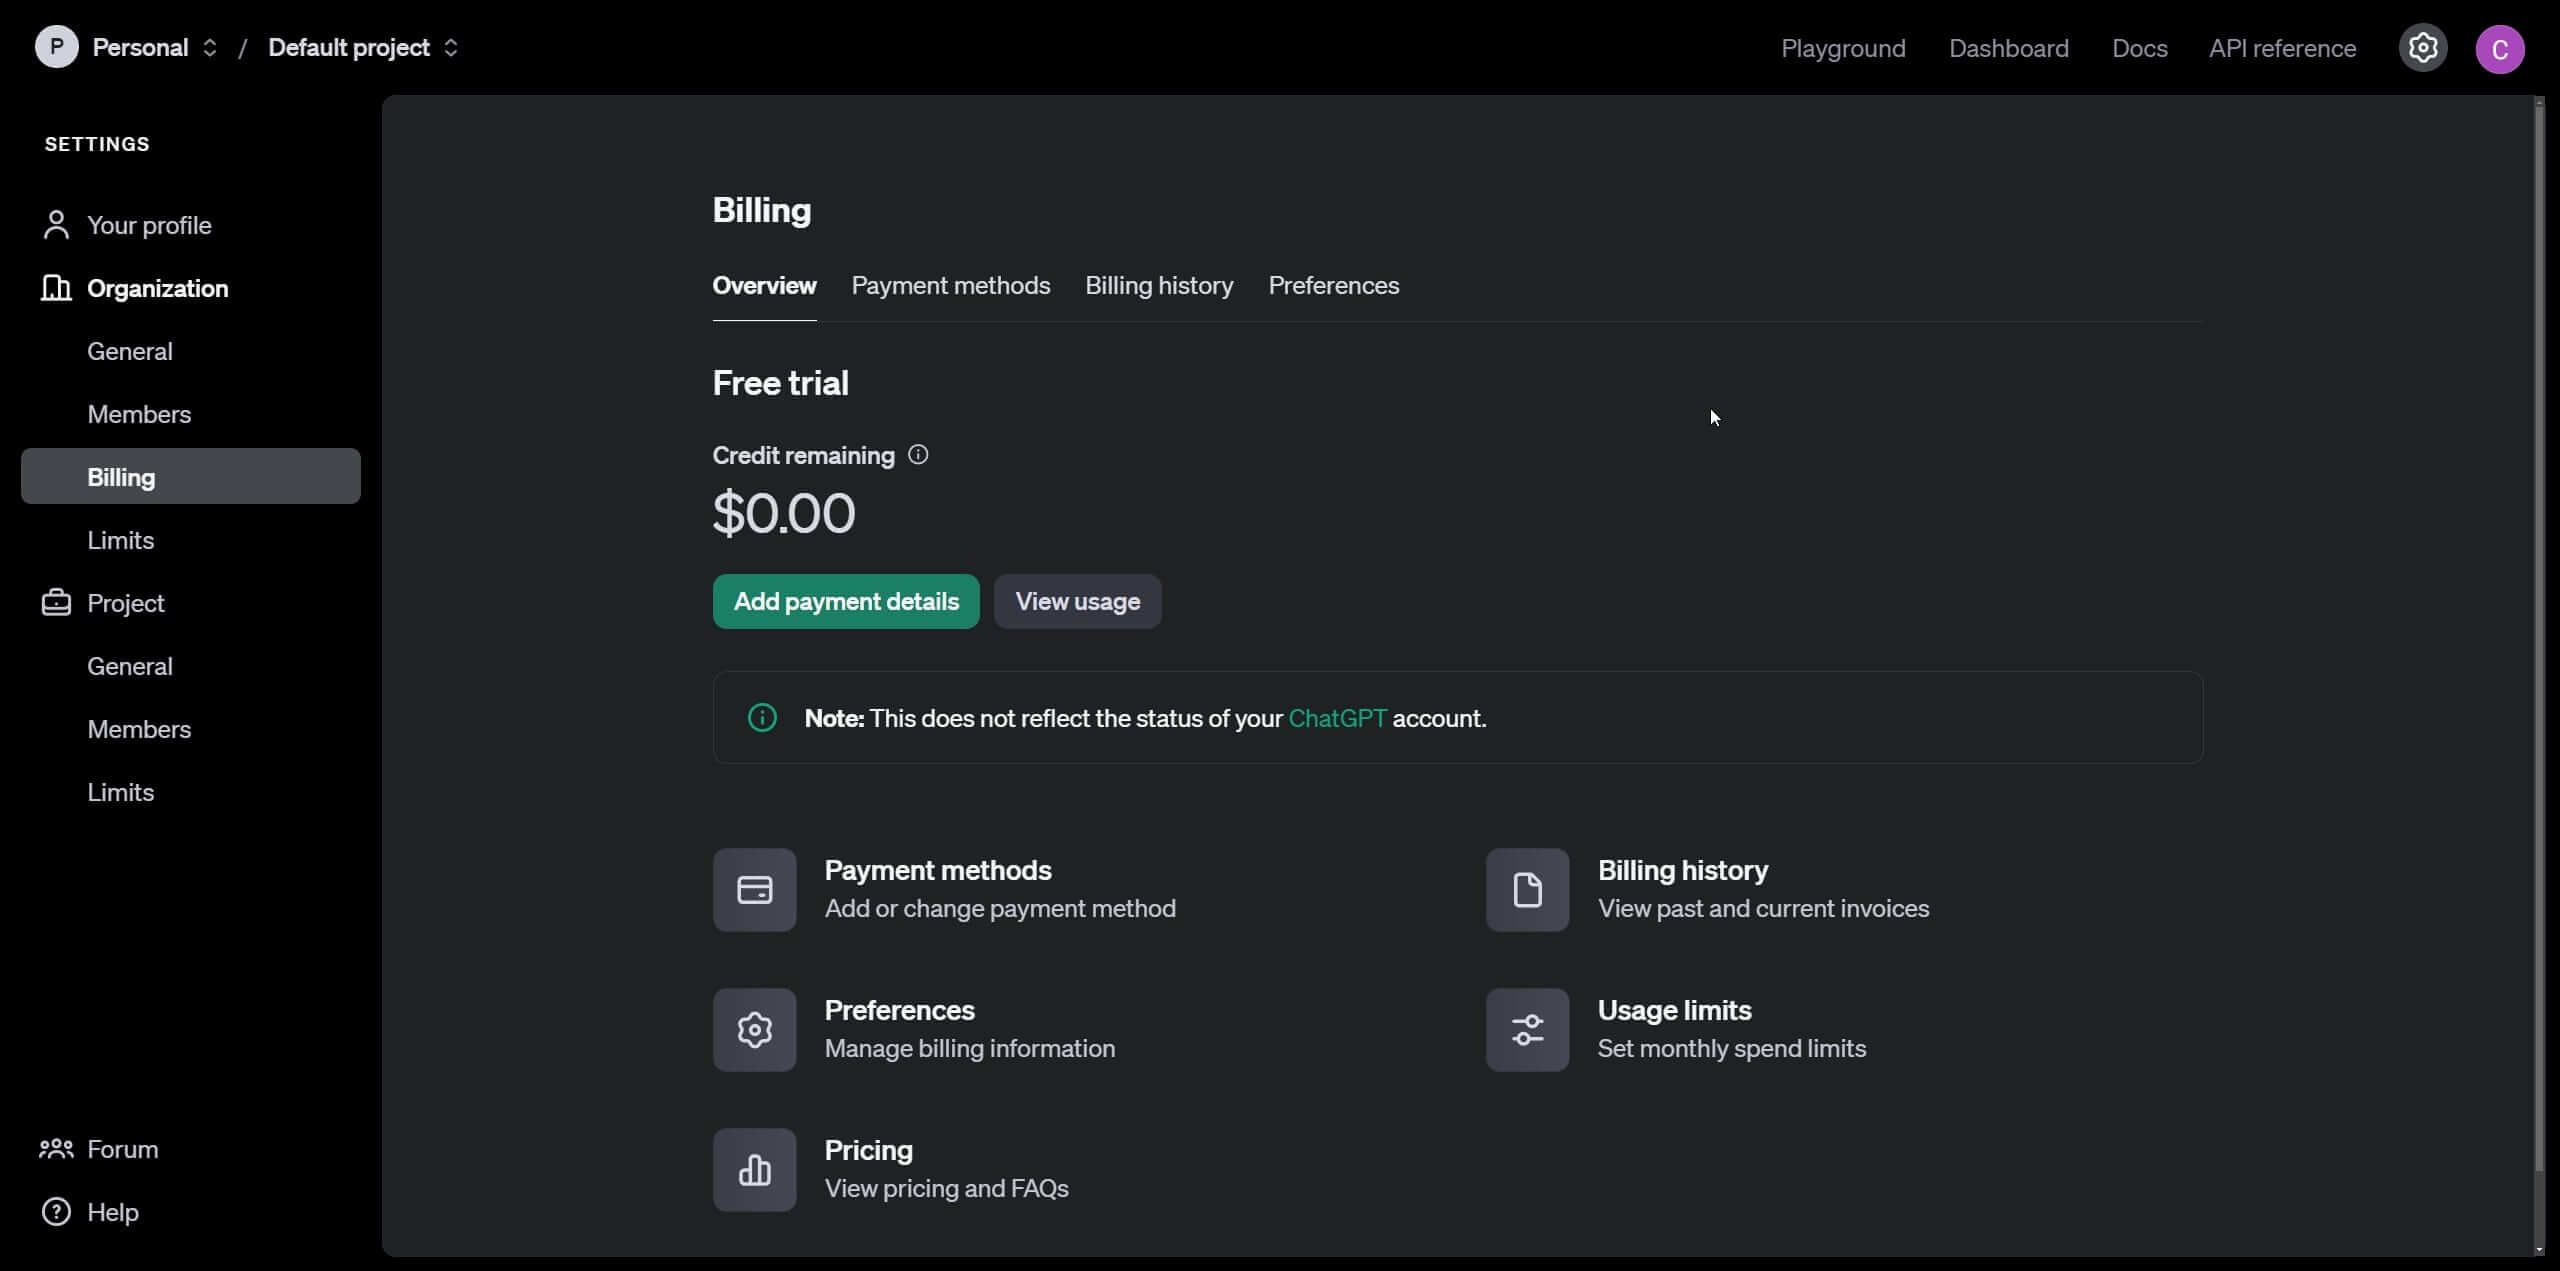
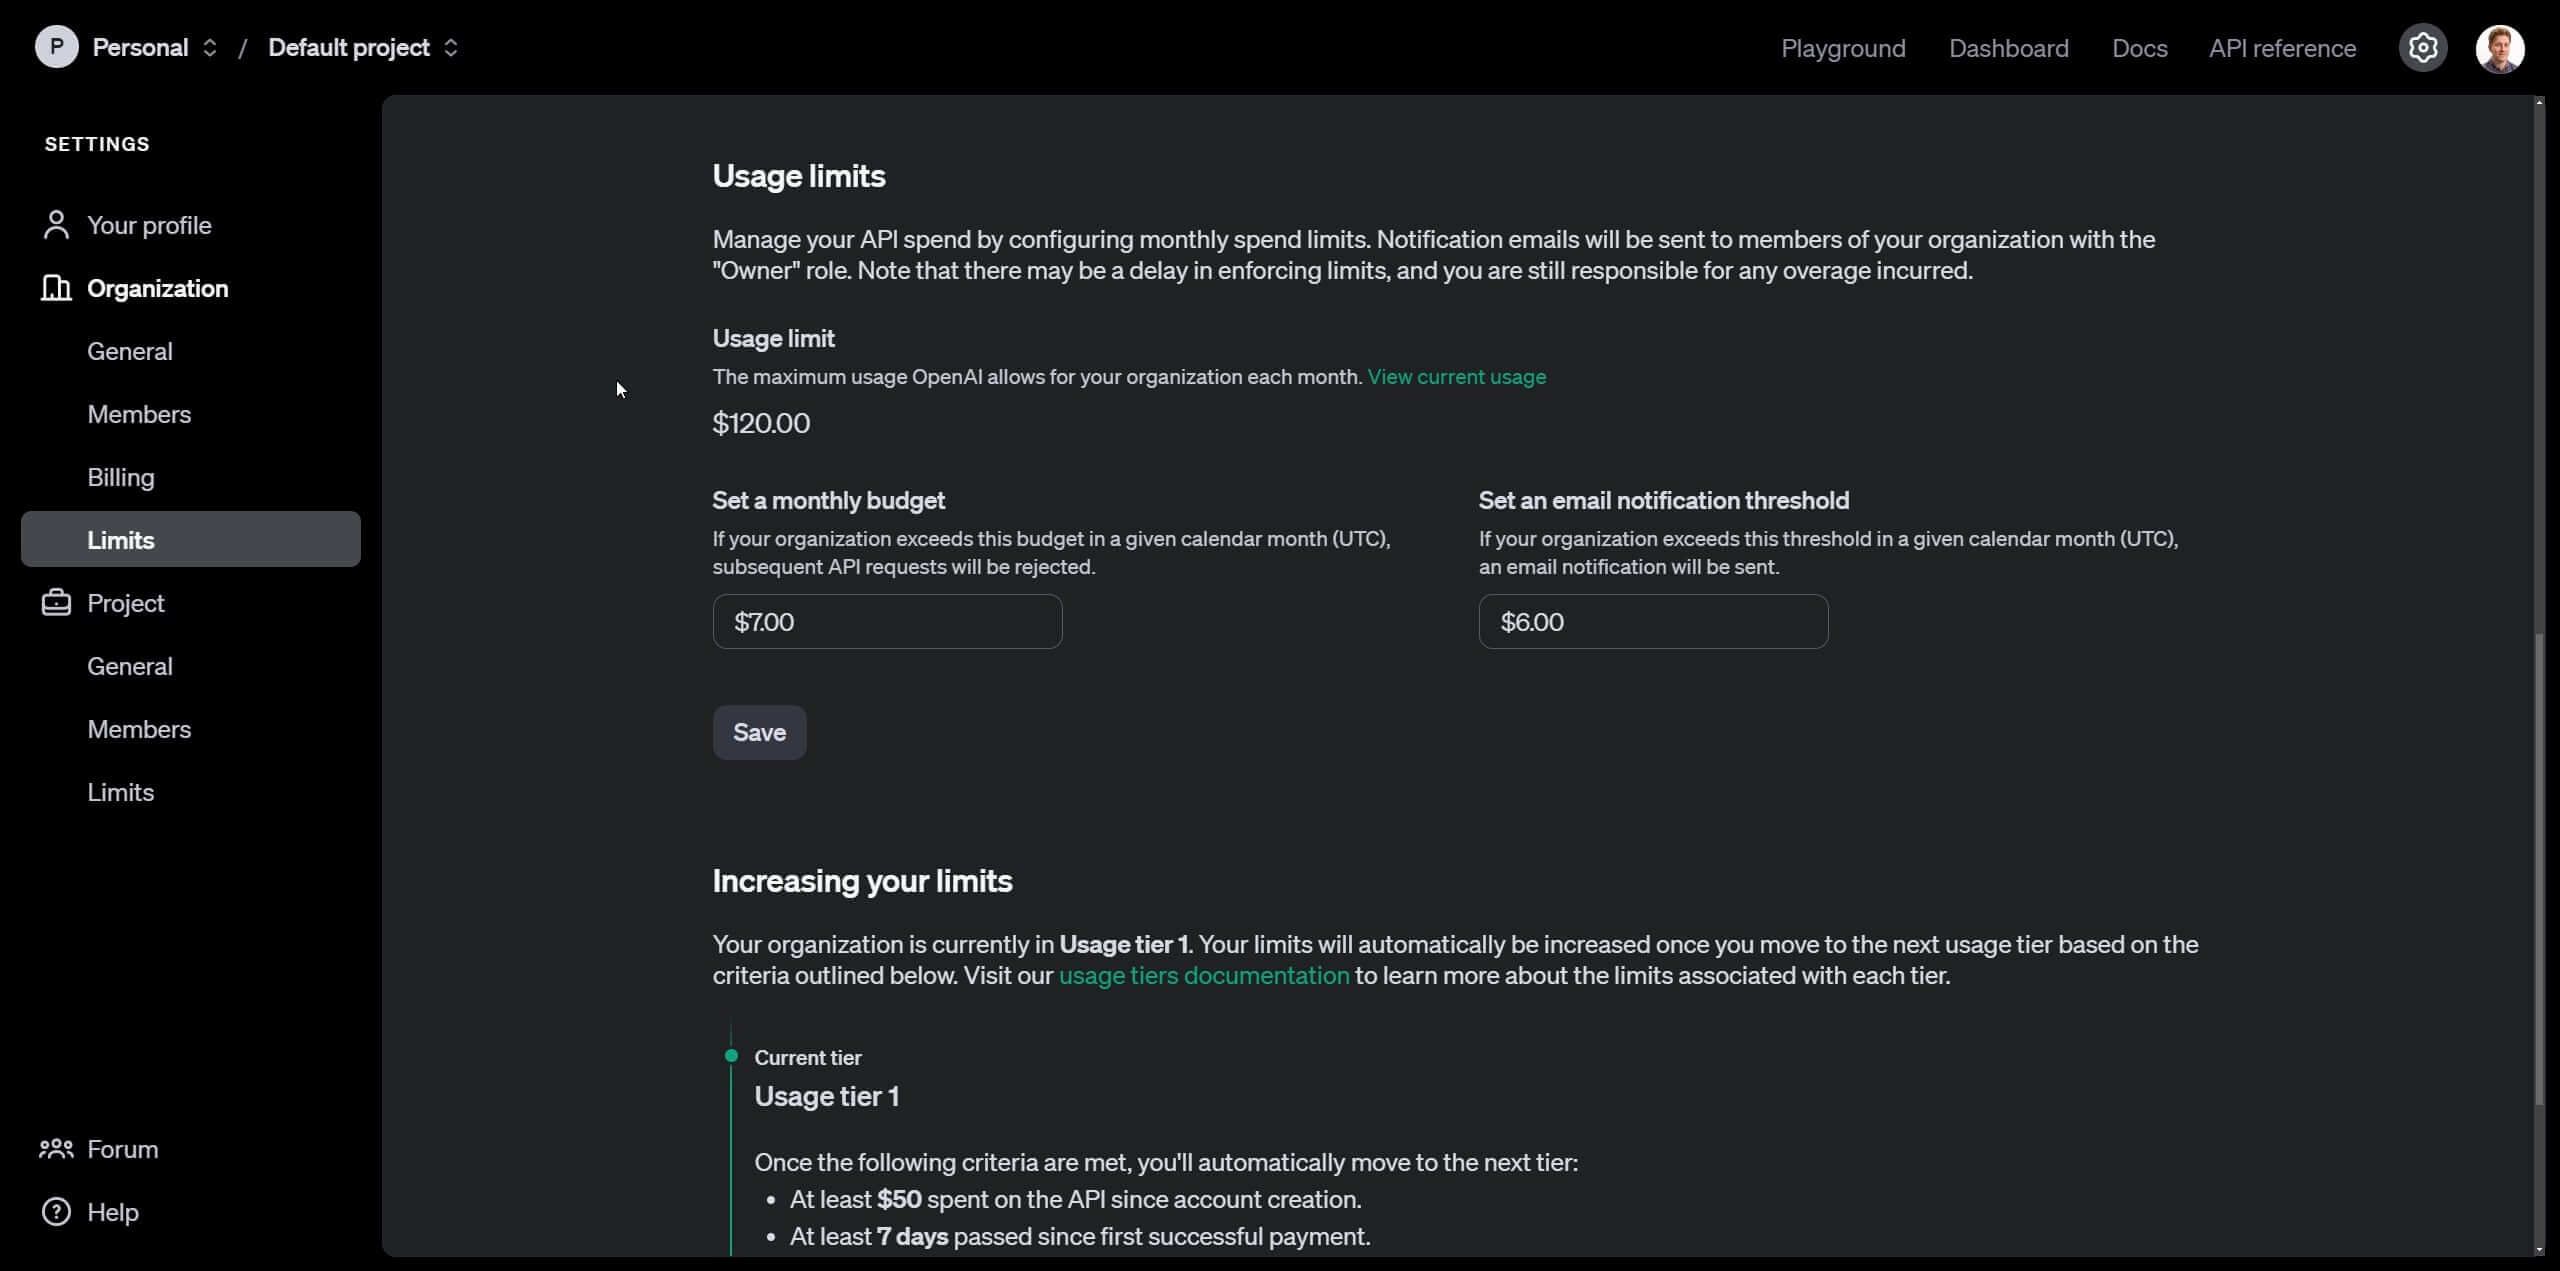
You'll need to enter your credit card information and set an initial account balance—just $5 for this tutorial. Next, go to "Limits" in the sidebar options. Here, you can set a maximum spending limit, after which OpenAI API requests will automatically stop, preventing you from exceeding your budget. Additionally, you can set an intermediate threshold to receive an email notification if you're approaching your spending limit.
How to obtain an API key or secret key to use OpenAI’s API
Once you've completed setting up your billing, navigate to the Dashboard using the top navigation bar, and then click on the "API Keys" section.
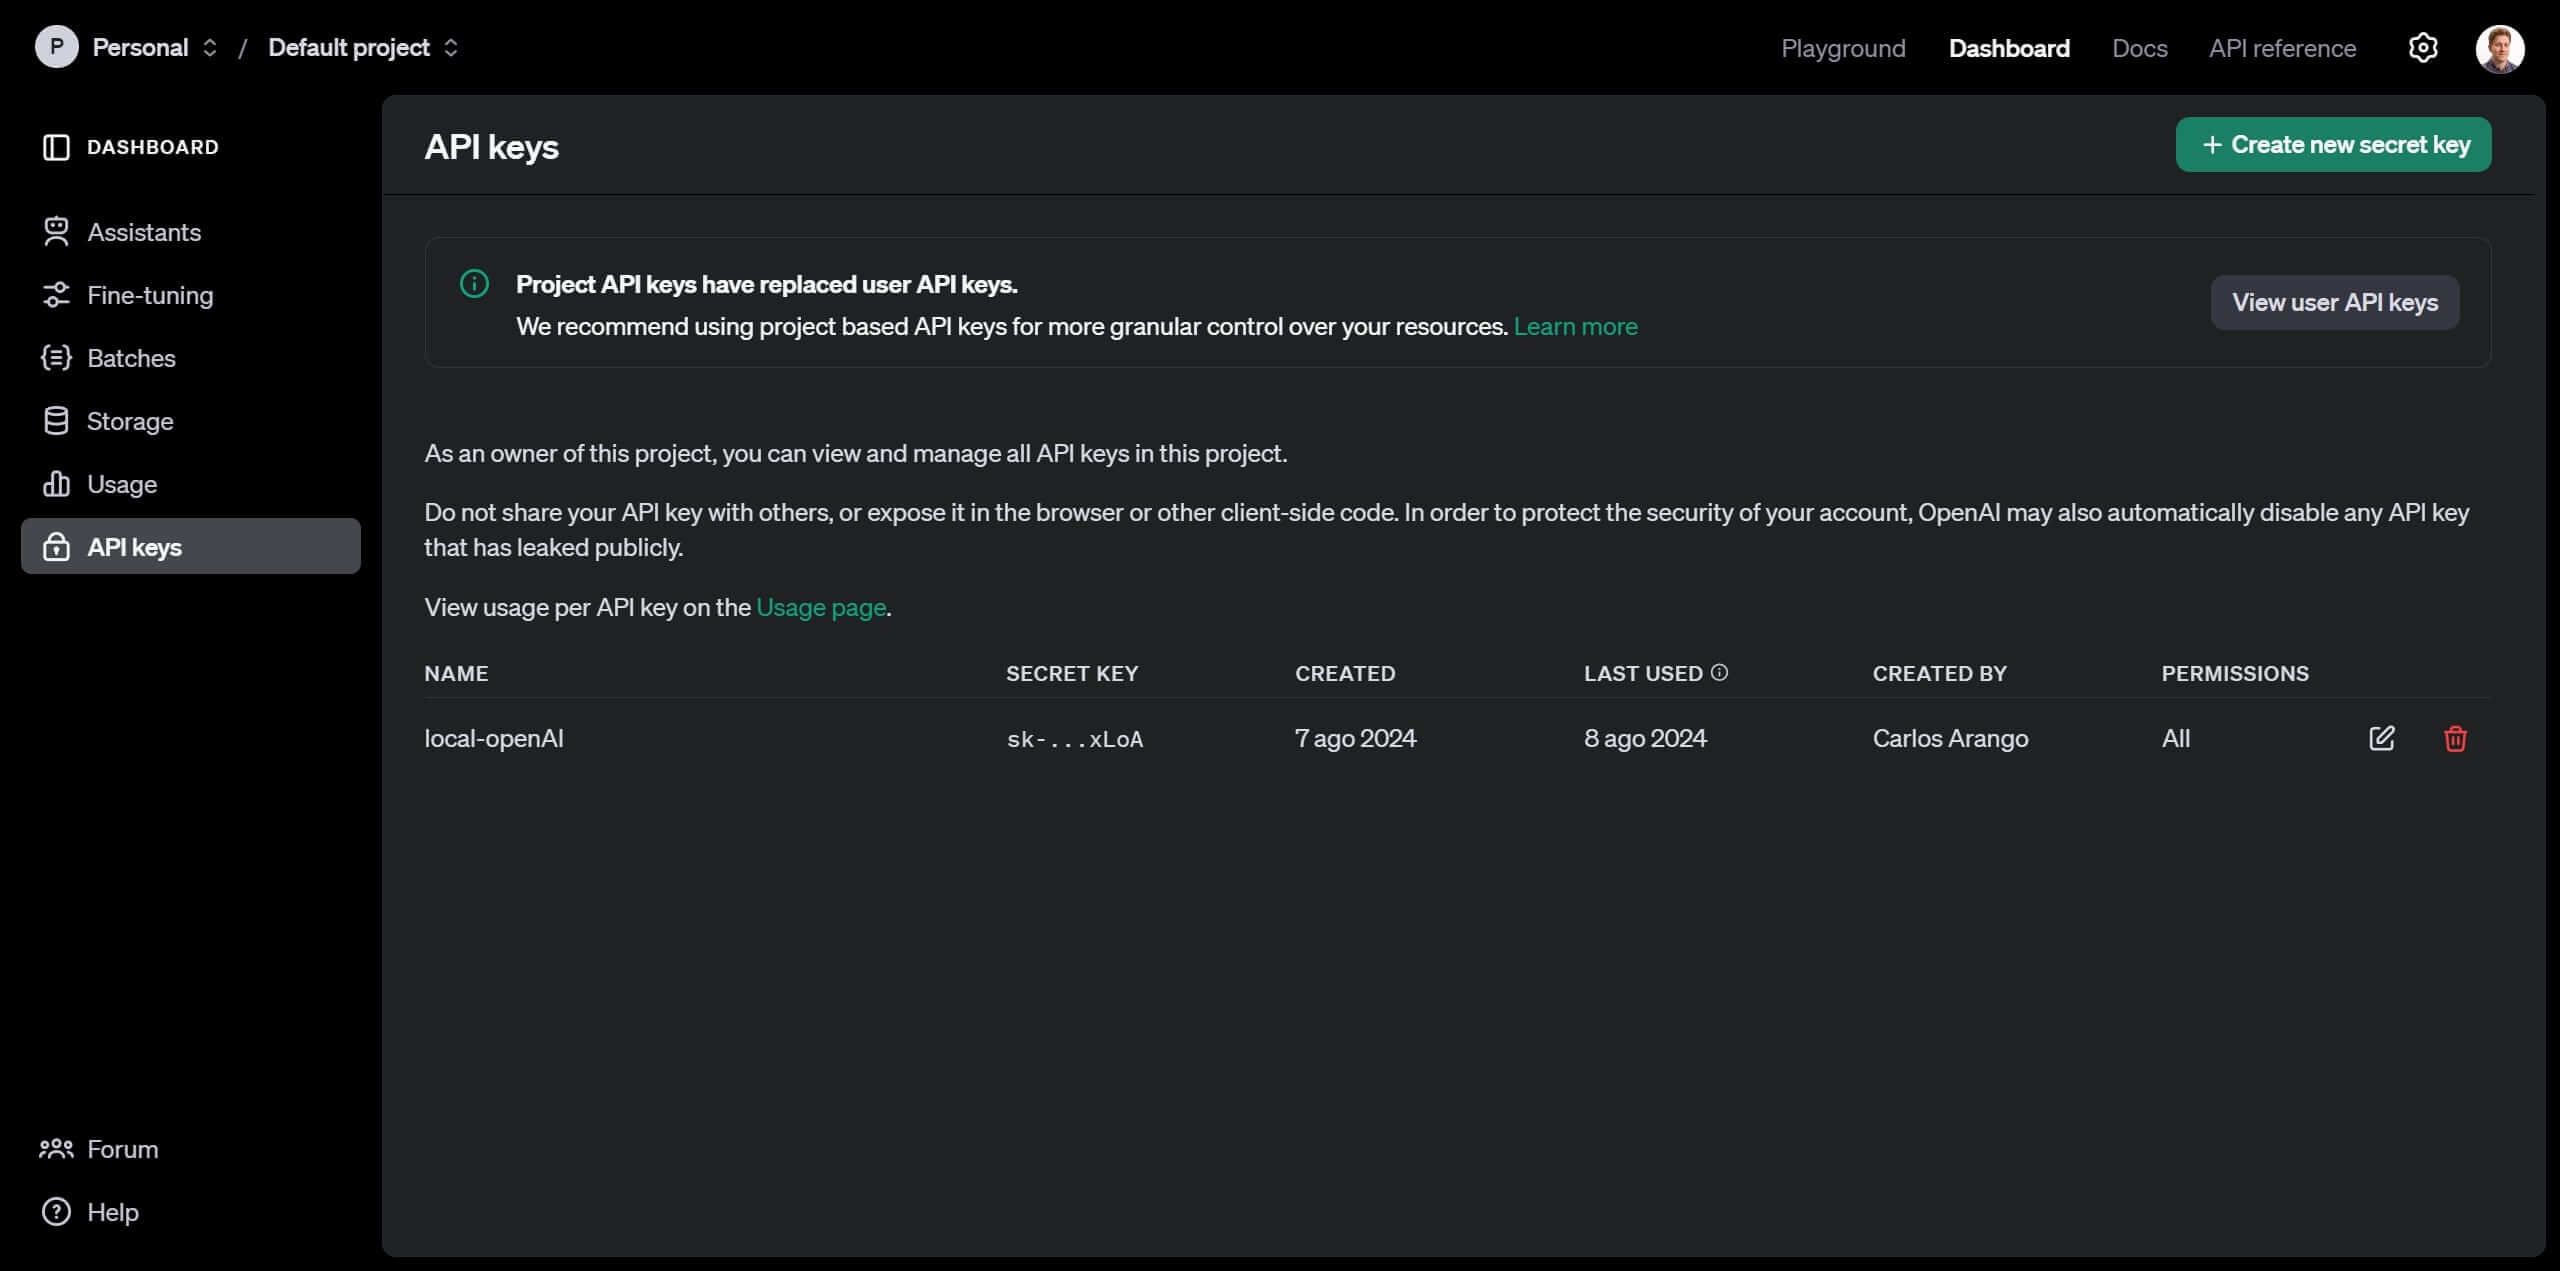
Once there, create a new "secret key", which will serve as the identifier for OpenAI to link your API usage with your account. Click on "Create new secret key", enter a name, and leave all options at their default settings.
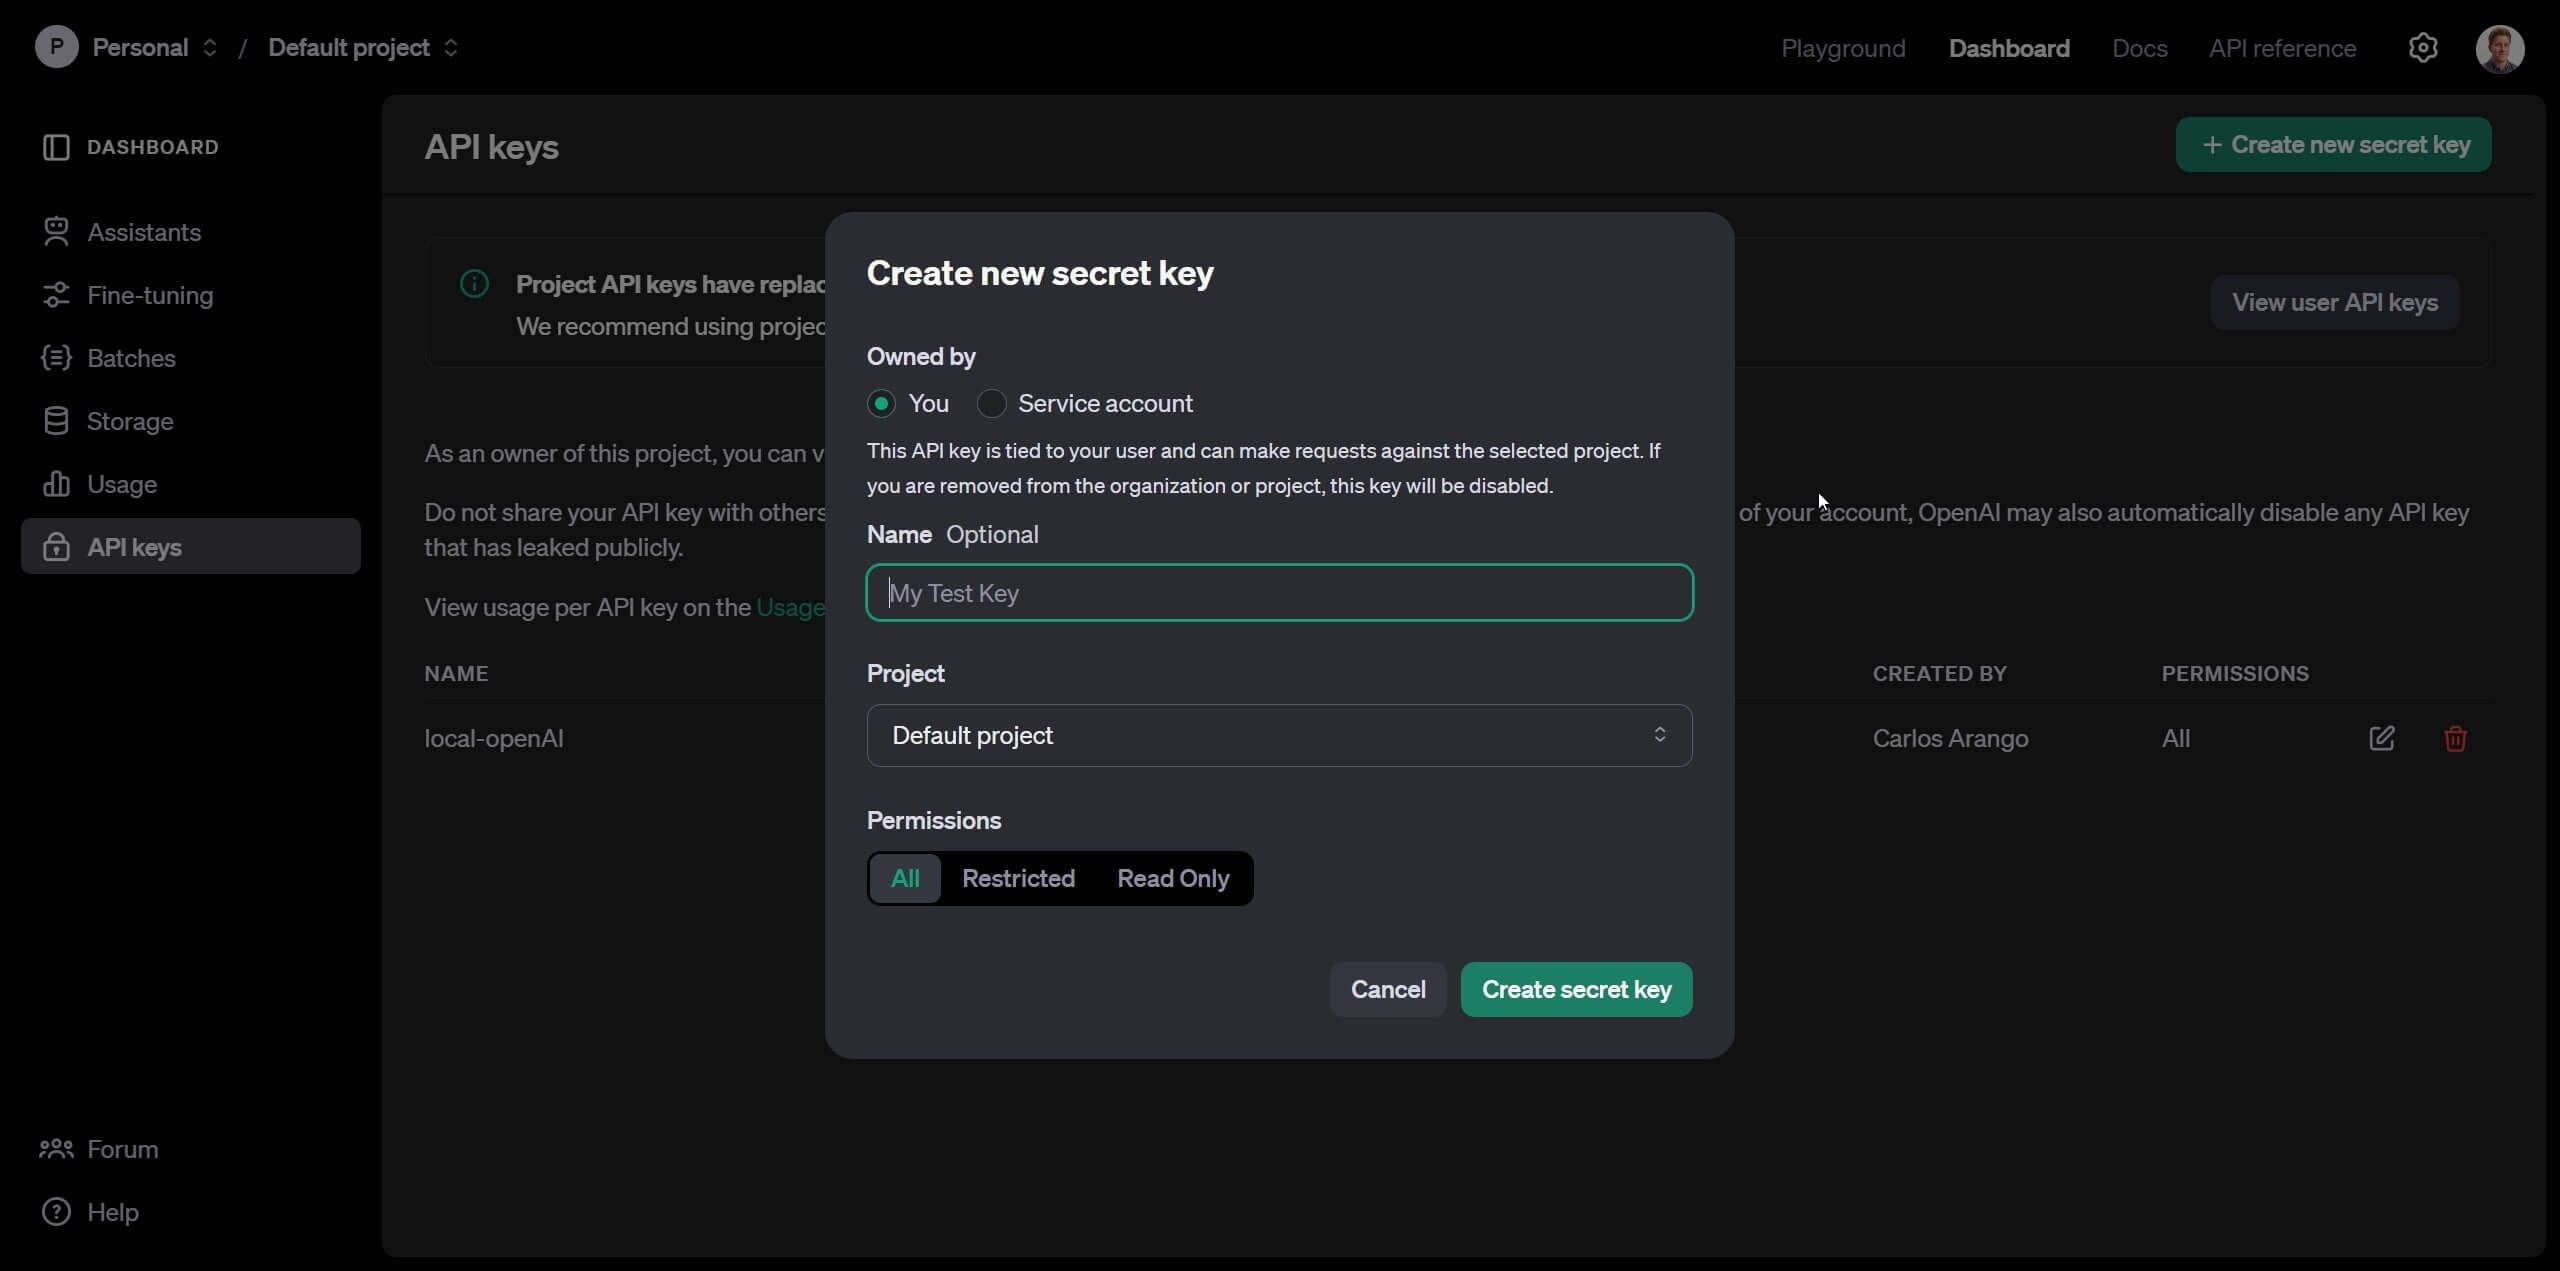
Once created, you'll see a popup message saying "Save your key." Copy this key and paste it somewhere safe, accessible only to you. Secret keys are private and should not be shared.
How to use OpenAI’s API from Open WebUI?
Now that your OpenAI Platform account and secret key are ready, go back to: http://localhost:3000/ where your Open WebUI is running. In the top-right corner, click on your user icon, then navigate to "Settings" > "Admin Settings" > "Connections." Here, activate "OpenAI API" and paste your secret key into the field provided on the right.

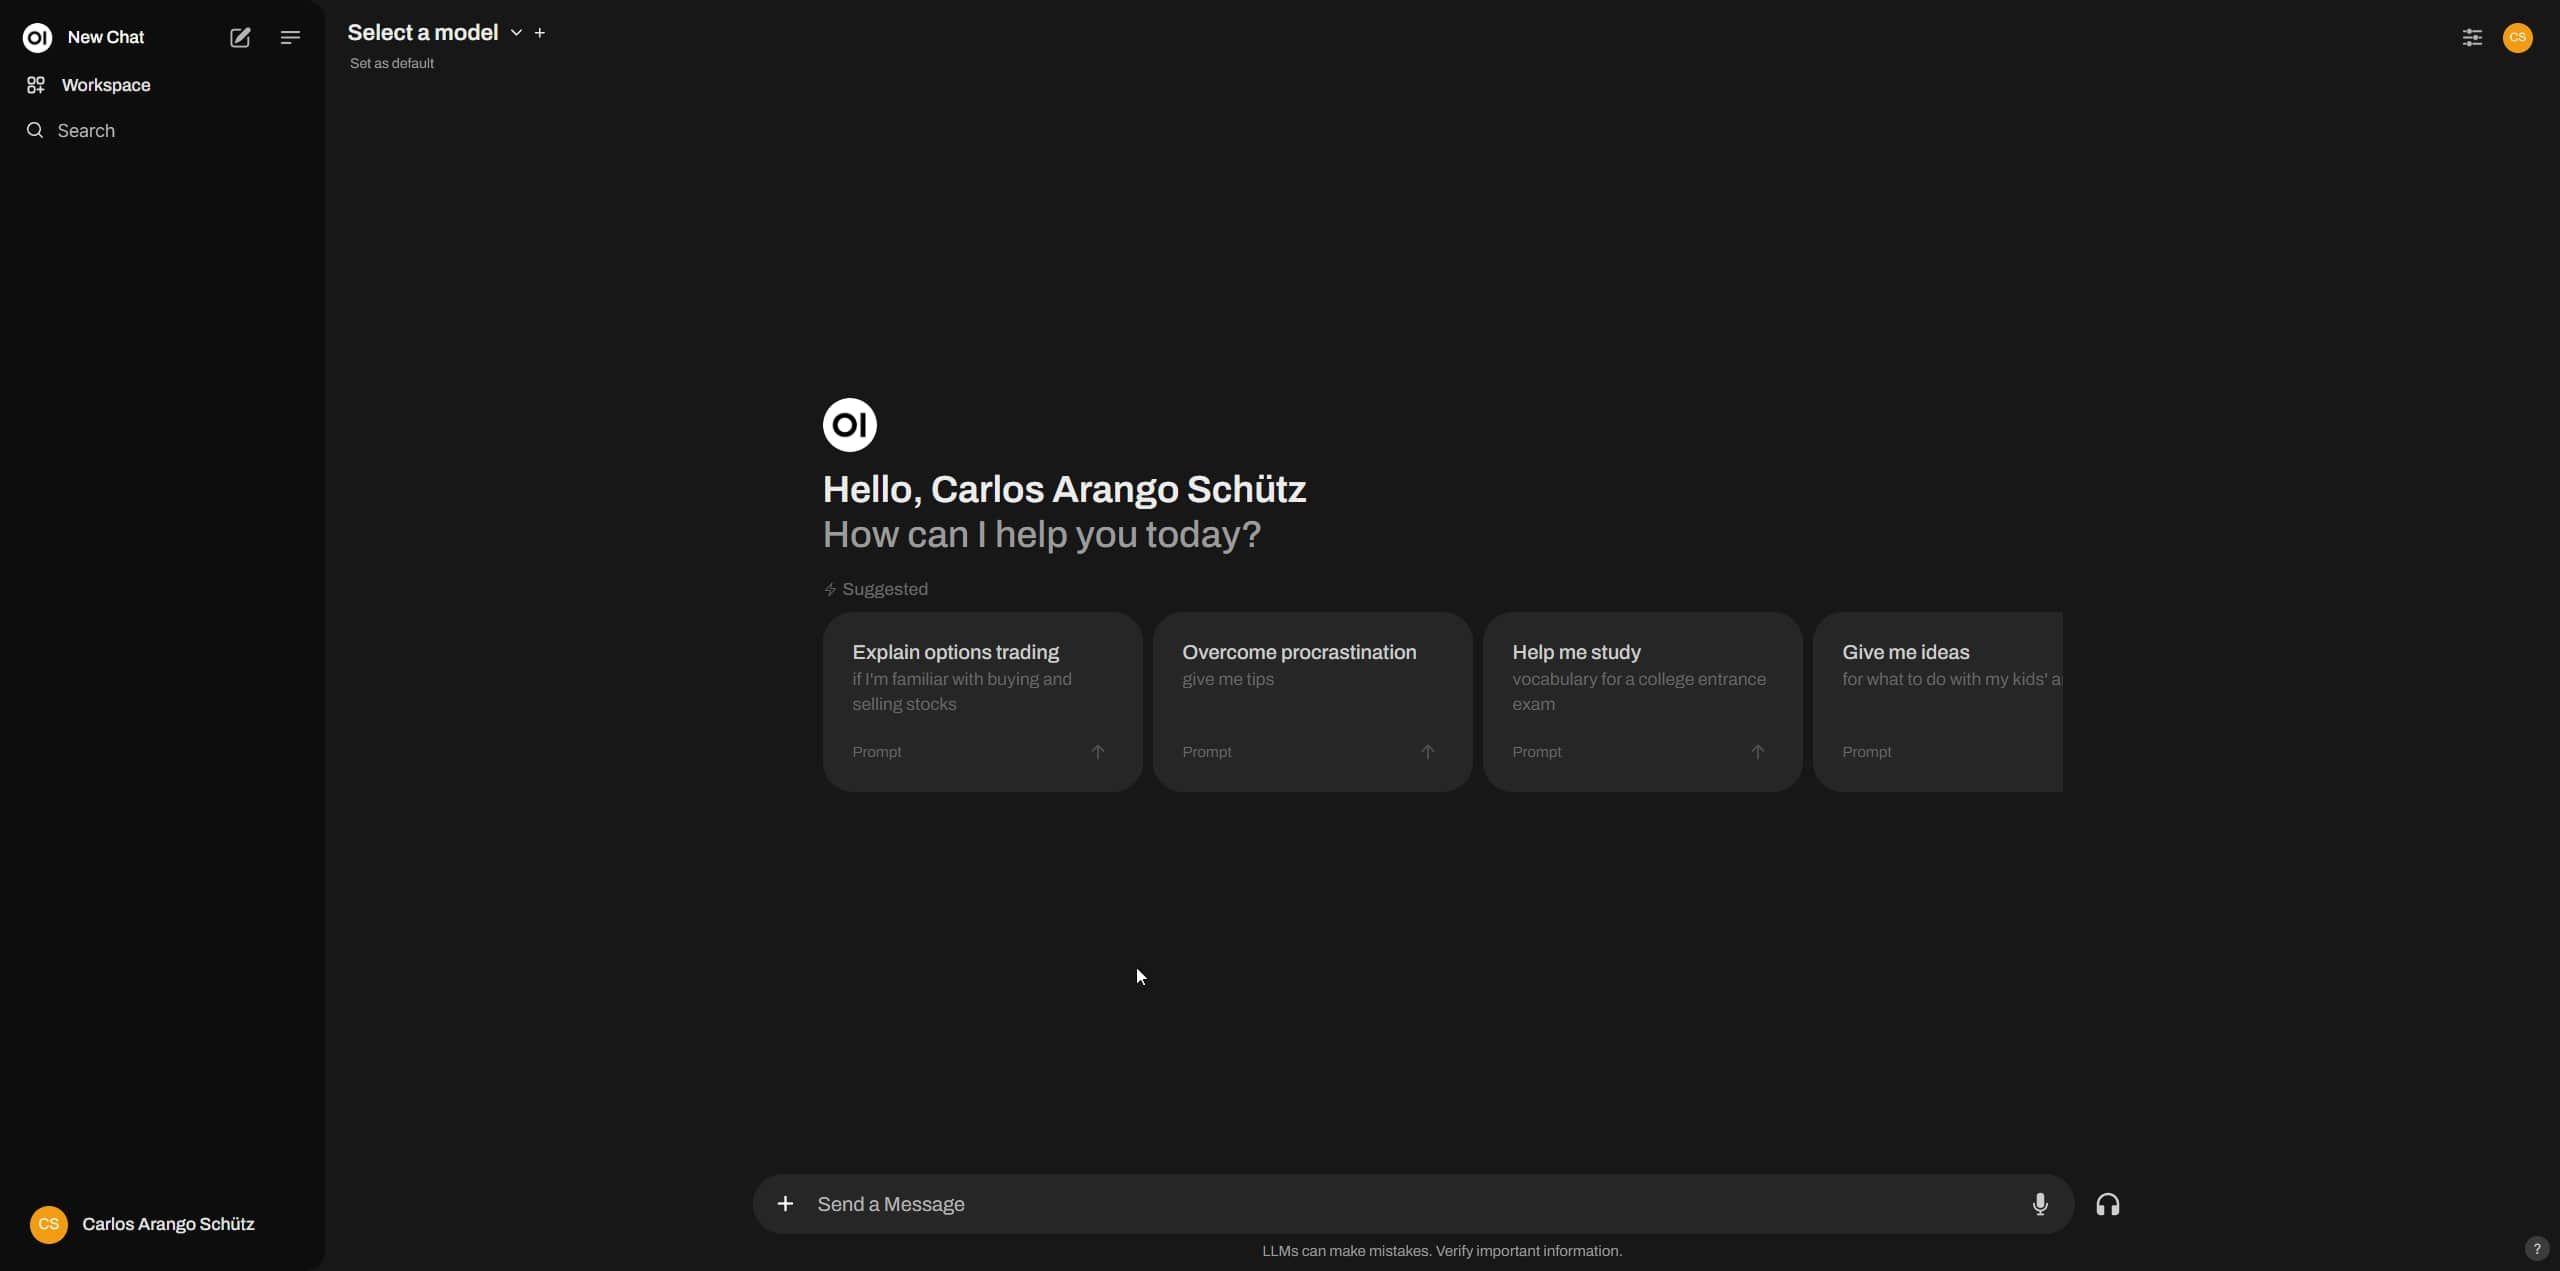
And that’s it! You now have your own version of ChatGPT running on a personal generative AI interface, with many of the same features as the official ChatGPT—at a much more affordable price.
Now, in the top-left corner of Open WebUI, click on “New Chat”. Right next to it, you’ll see the “Select a model” option. Click there to view all the available models from OpenAI. Each model has different usage costs, with gpt-4o-mini being the most efficient and affordable. I recommend using it for lighter tasks. And when you need the full power of AI, go with gpt-4o.

How to generate images using Open WebUI and DALL·E 3
If you’ve followed all the steps so far, you should now be able to chat with OpenAI models. However, image generation is not enabled by default. To fix this, go to "Settings > Admin Settings > Images", then under “Image Generation Engine”, select OpenAI (DALL·E) and turn ON the “Image Generation (Experimental)” option. Make sure your OpenAI secret key appears below these settings.
To generate an image, the process is a bit different from ChatGPT. In any chat window where you’ve selected a model, type the following:
“Repeat this without changing any phrase: Imagine a dog waving at the camera, photorealistic image.”
The model will repeat the phrase. Just below the response, you’ll see an image icon—click it. The prompt the model repeated will be used to generate the image.
Limitations of using the OpenAI API with Open WebUI vs. ChatGPT
As you’ve seen throughout this second part of the tutorial, we were able to use the OpenAI API to generate both text and images. And if you’ve explored the Open WebUI interface, you’ve probably noticed that it looks almost identical to ChatGPT—and even includes some extra features. But you might be wondering: What features from ChatGPT aren’t available through this method?
Currently, you can’t view charts or tables, and voice interaction with models is also not supported. These are features exclusive to ChatGPT for now. However, it’s possible that Open WebUI developers will add them over time.
Another important point to consider is that every text or image you generate uses up the budget you set in OpenAI Platform. You need to stay mindful of this—especially with image generation, which tends to be the most expensive.
To give you an idea:
- With $5, the gpt-4o-mini model can generate around 6,250,000 words (pretty amazing).
- The standard gpt-4o model can generate about 250,000 words.
If you'd like to learn more about OpenAI API pricing, check out this link.
Keep in mind that image generation costs can become a limitation if you plan to use it frequently. In any case, there are local image generation models—which I’ll cover in another article—that can be used at zero cost if your computer meets the requirements mentioned earlier.
Part 3: How to use Ollama to run generative AI LLMs locally with Open WebUI
In this final part of the tutorial, I’ll show you how to run AI models locally using your own computer’s resources—at zero cost.
There are many models we can run locally, but keep in mind that we’ll only have access to those licensed as open source. That doesn’t mean they’re inferior to OpenAI’s models—on the contrary, we can even run Llama 3.1 by Meta, a direct competitor with excellent capabilities.
To run these models locally, we’ll use Ollama, a tool that makes it easy to use LLMs without needing to write code or go through complex setup steps. It’s designed to work on computers just like yours and mine.
How to install Ollama
Go to this link and click “Download”, then choose the version that matches your operating system. Once the installer is downloaded, run it—and that’s it! Ollama will be installed on your computer.
How to connect Ollama with Open WebUI
Go back to Open WebUI, where you’ll need to enable the integration with Ollama. Navigate to “Settings > Admin Settings > Connections”, and make sure Ollama API is set to ON and is pointing to the following address:
http://host.docker.internal:11434How to download a model to use with Ollama and Open WebUI
Ollama provides an easy way to download the models you want. Simply go to this link and browse the library to find the model you'd like to install.
Keep in mind that models are classified by billions of parameters, and the more parameters a model has, the heavier the load on your computer will be. Some models might not run at all unless you have a very powerful machine. Generally, the rule is: more parameters = more accuracy.
Another important point is that these models are quantized, meaning they’ve been compressed to reduce their size and improve speed and memory efficiency. However, this compression can slightly affect their precision.
For this tutorial, we’ll use Meta’s Llama 3.1 model, specifically the 8-billion parameter version, which performs slightly better than GPT-3.5 Turbo. Larger versions of this model can even be comparable to GPT-4o.
Downloading this model is simple—you just need its name, which you can find in the Ollama model library. In this case, the name is: llama3.1:8b
Now go to Open WebUI, navigate to “Settings > Admin Settings > Models”, and under “Pull a model from Ollama.com”, paste the model name and click the download icon. In this same section, you can also delete or customize models as needed.
Once the download is complete, you'll have your first local model ready to use. You can run it in the chat window by clicking on “Select a model.”
What are the limitations of running local models versus using the OpenAI API?
Running models locally comes with some limitations compared to using the OpenAI API:
- You're limited by your computer’s hardware, which may not be powerful enough to run larger models with more parameters.
- You won’t be able to generate images. For that, you’ll need to use a cloud-based service or explore other local image generation models (a topic I’ll cover in another article).
- Local models can’t interpret or analyze images, unlike OpenAI’s API, which supports image recognition capabilities.
Conclusion
If you made it through parts two and three—congratulations! You now know how to use the OpenAI API at a reduced cost compared to ChatGPT, and how to run your own LLMs locally with zero cost, independently from cloud services.
Having generative AI at your fingertips is truly priceless. You have the world’s knowledge at your keyboard, and with it, you can boost your productivity and competitiveness like never before.